Snacks
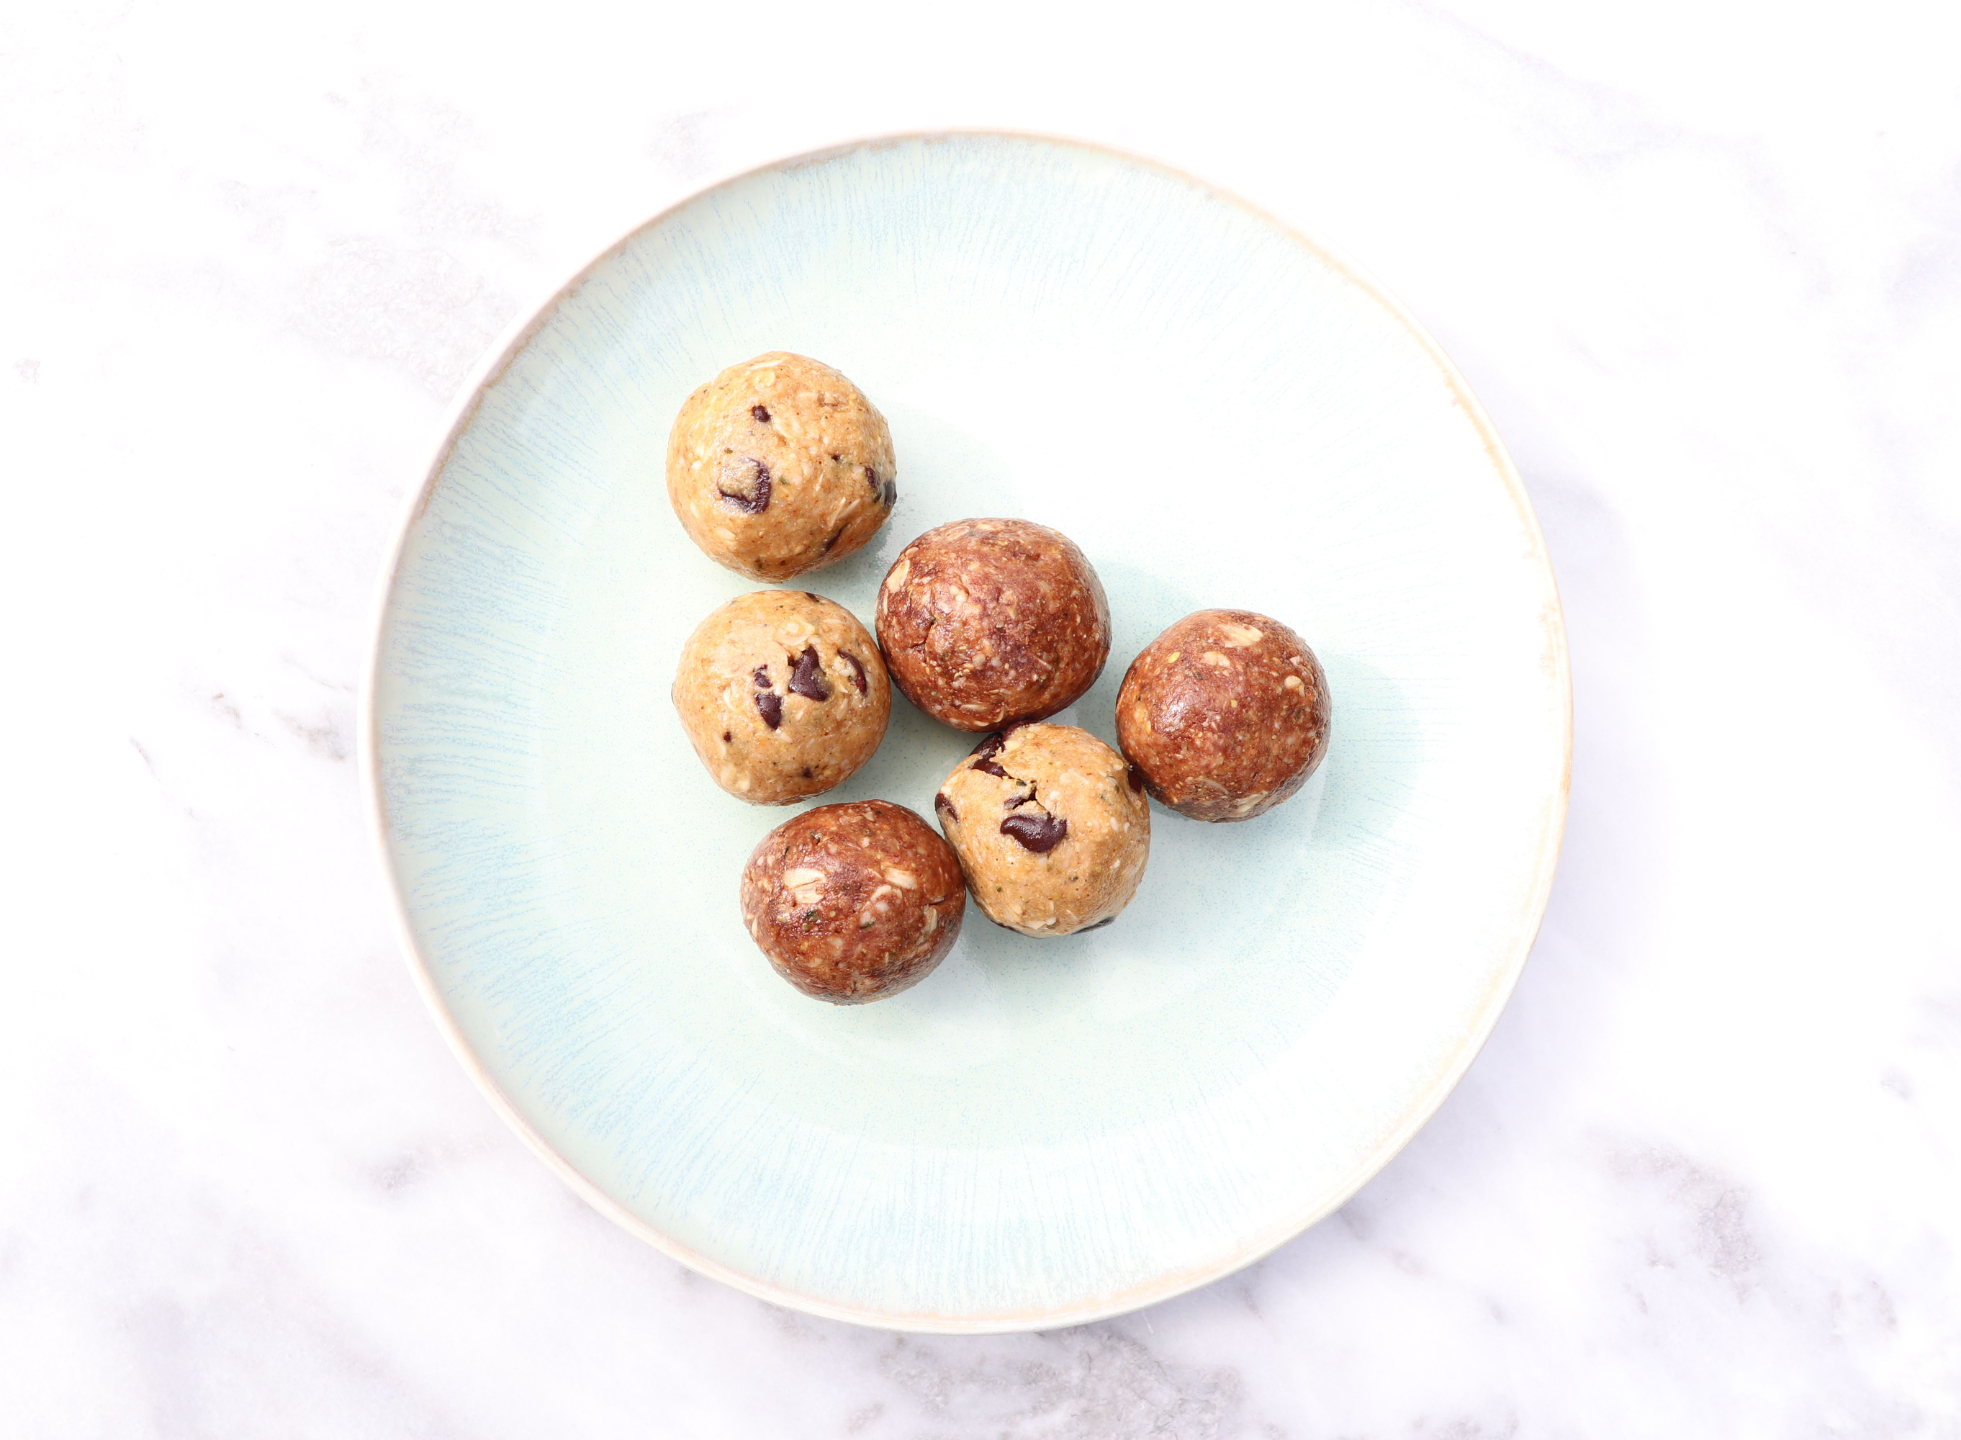


Power Balls (for ideal poops)
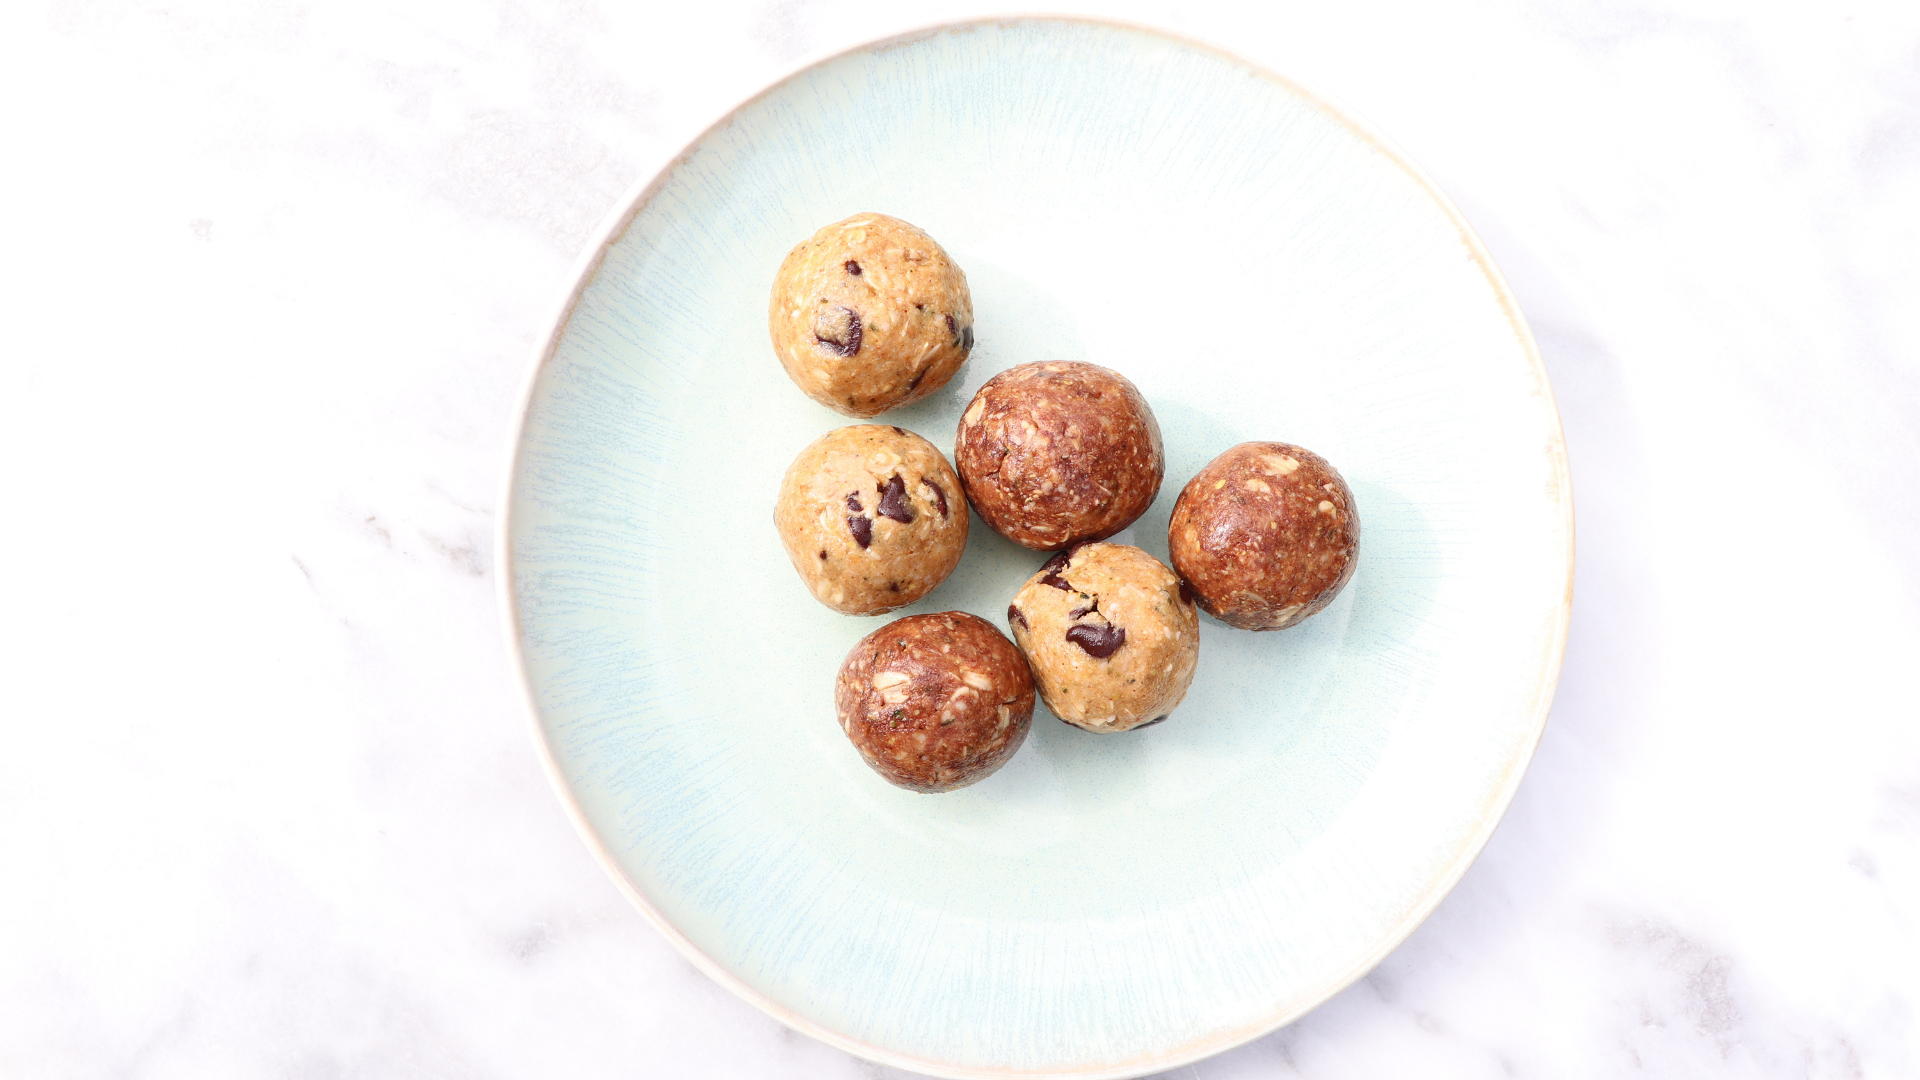
If you have diarrhea and need help producing formed (not loose) bowel movements- this one is weekly "must prep".
This recipe combines the power of soluble fibre and resistant starch- or what I like to fondly call "poo glue"!
Ingredients:
✨ 1 cup Peanut butter
✨ 1 cup Old fashioned rolled oats (use certified GF if you have celiac disease)
✨ 2 Tbsp Maple syrup
✨ 3 Tbsp Hemp seeds
✨ 2 Tbsp Green banana flour (or pure acacia soluble fibre powder, or dehydrated banana flakes)
✨ 2 Tbsp Dark or semisweet chocolate chips
✨ Cinnamon, dash
✨ Vanilla, dash
✨ Salt, dash, if your peanut butter is unsalted! Mine was salted, so I didn’t need any.
Directions:
💪🏽 Add everything in a large bowl.
💪🏽 Mix well (requires some muscle).
💪🏽 Add more green banana flour (or acacia soluble fibre or banana flakes) if mixture is too wet, or more nut butter if the mixture is to dry.
💪🏽 Roll into 1-1.5 inch balls on a parchment lined baking sheet, chill in freezer for an hour, pack in airtight container for POPPING THOSE BALLS IN conveniently, as needed. Oh the joy...
✨ For the chocolate ball version, add 2 tsp of cocoa powder. Easy peasy.
✨ IBS Tip: Avoid swapping in honey instead of the maple syrup if you are sensitive to fructose.
Enjoy your balls!
xo
Jess
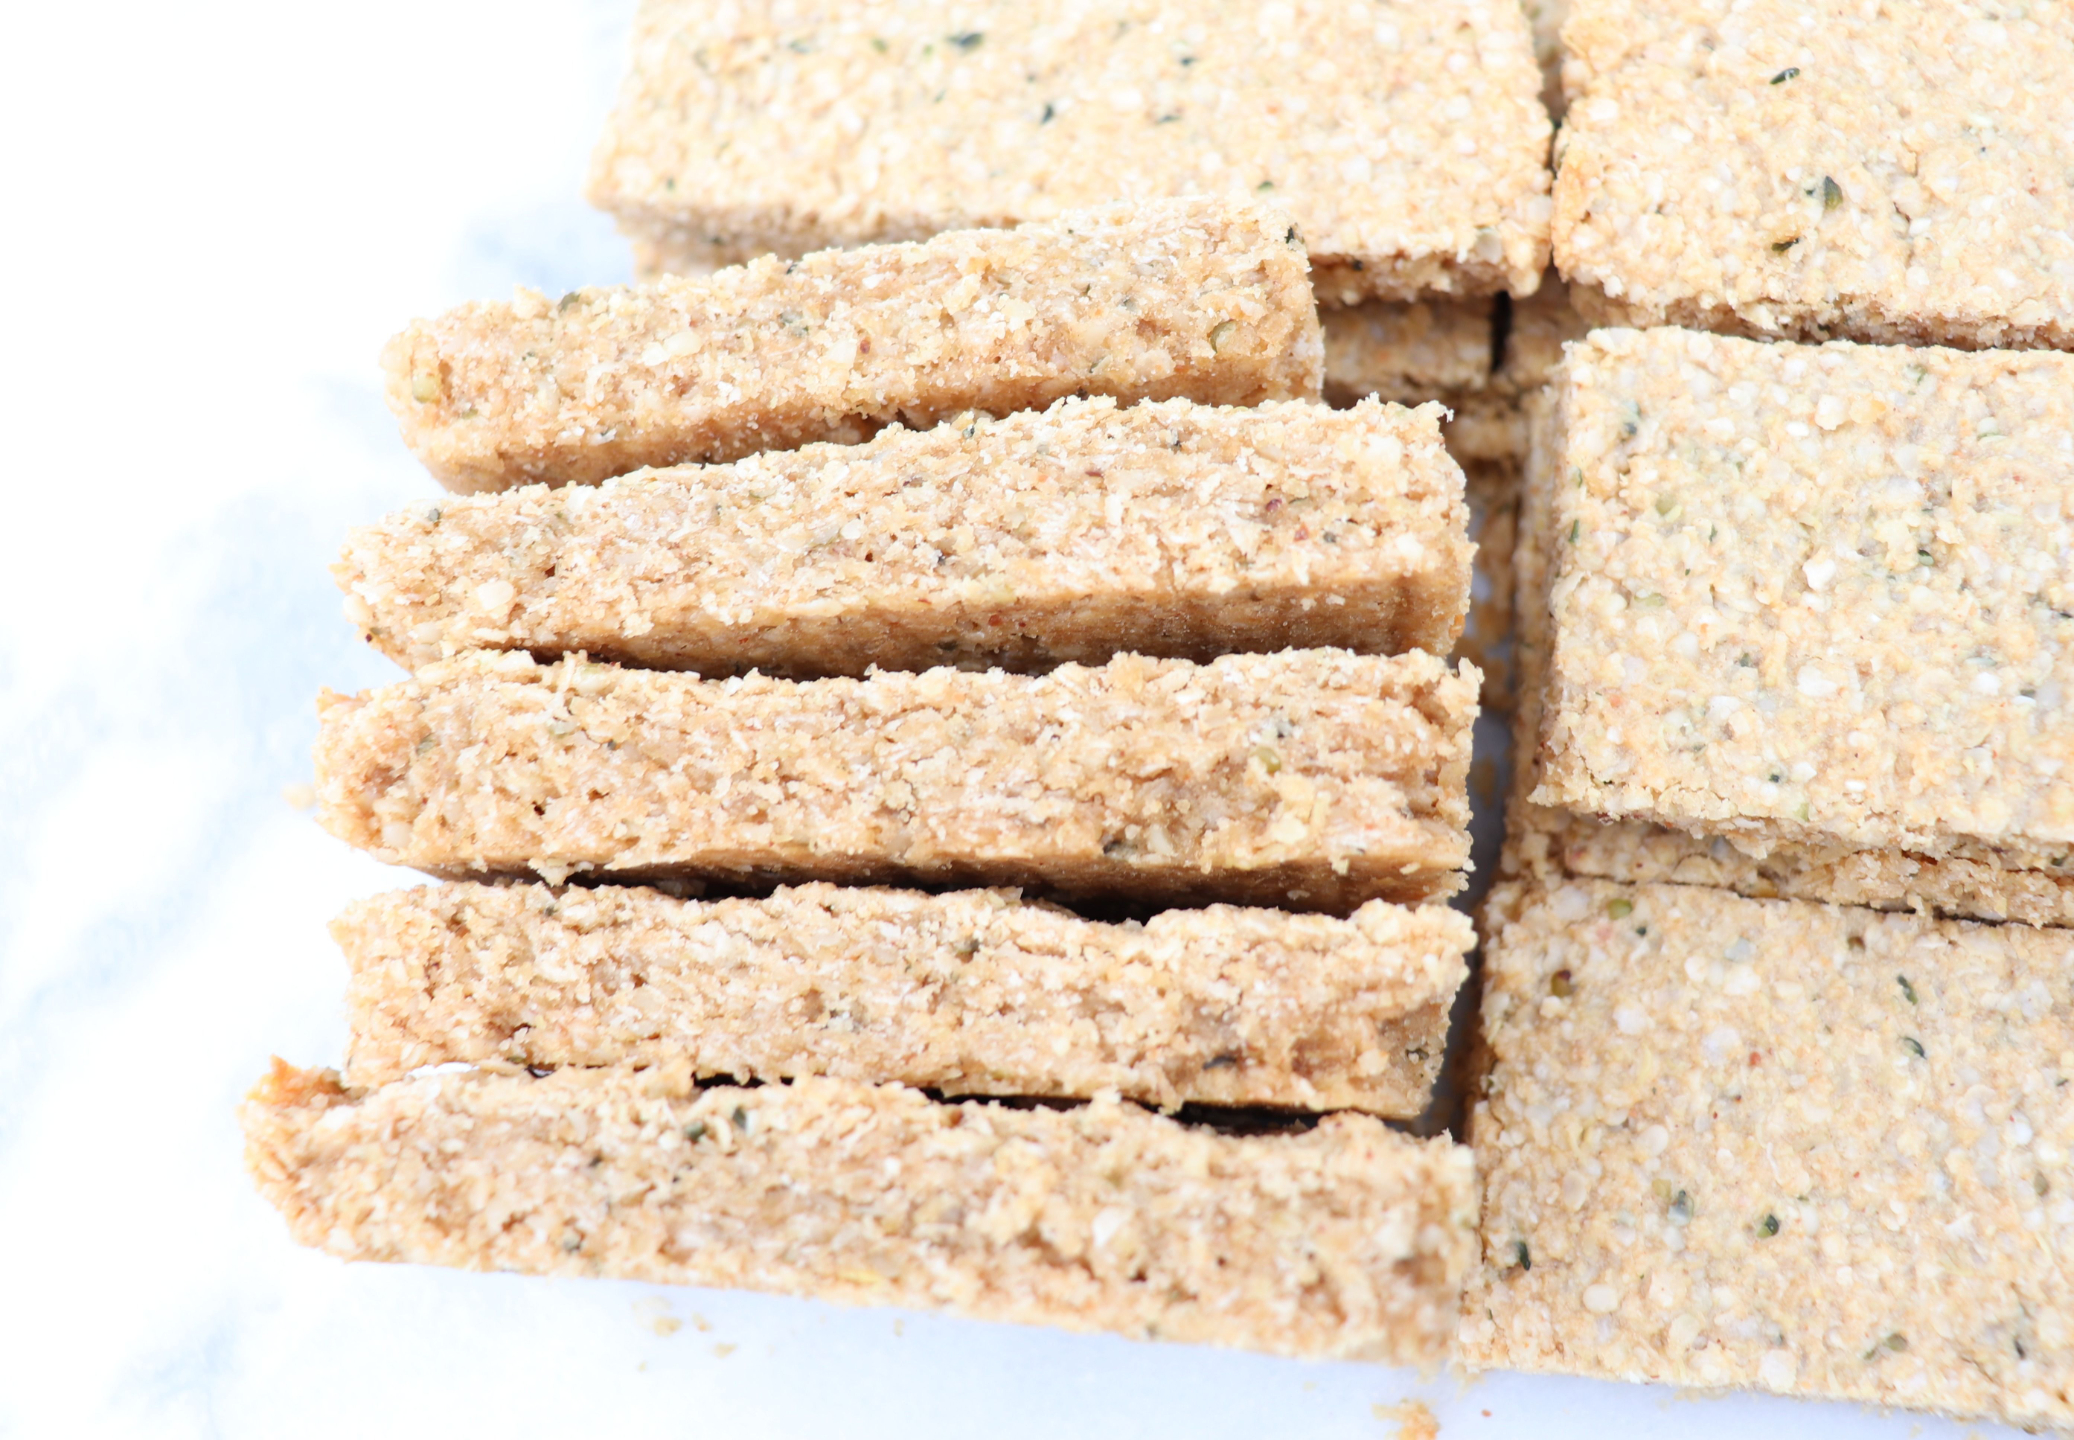
Healthy "Schmarbucks" Oat Bars

Finally...FINALLY!
I tweaked this recipe until it was the crumb I wanted, the taste I wanted, and it was easier on my tummy the way I wanted (not to mention way healthier than the corn syrup, sugar and butter laden original version).
Quinoa flakes have lower amounts of fructans cup per cup compared with oats. You can find them in a good bulk foods section.
Fructans can cause issues for those who tend to bloat easily (like those with IBS). These fermentable suckers are also found in garlic & onions, just to name a few foods. Glorious, right?
So, by cutting the oats down in this recipe and replacing a third with quinoa flakes, I can make room for the small amounts of dried fruit in the recipe (which also may contain gas-causing fructans) and just feel less bloated over all after eating one (or two) squares. Winning.
Just don't replace the entire thing with quinoa flakes. I tested a version that was 100% quinoa flakes, and found the end product had a faint yet detectable bitter edge.
I told you I was tweaking like a man woman!
So here, you gorgeous people...here it is. Whew.
Ingredients:
- 2 C Rolled Oats
- 1 C Quinoa Flakes
- 1/4 C Coconut Oil
- 3/4 C Nut/Seed Butter of Choice (I used Peanut Butter)
- 1/2 C Maple Syrup
- 1/4 C Milk of Choice
- 1/4 tsp Salt
- 1/2 tsp Cinnamon
- 1 tsp Vanilla Extract
- 1/2 C Hemp Hearts (or Chia, or mixture of both)
Optional but HIGHLY recommended:
- 1/2 C Seeds and/or Dried Fruit (I used Pumpkin Seeds and Dried Blueberries)
Directions:
- Preheat oven to 325 F & line 6 x 11" or 9" x 9" pan
- In a food processor with the regular blade, add oats and grind until a rough oat flour is made.
- In a medium-large microwave safe bowl, melt coconut oil. About 30s to 1 min will do.
- Add maple syrup, milk, peanut butter, vanilla, and salt & stir until smooth.
- Stir all remaining ingredients together and press into the pan.
- Bake 15 to 20 minutes or until the centre no longer looks wet.
- Slice into 8 to 16 bars after cooled.
Enjoy snacking on these delish morsels with coffee or tea.
As always, thanks for the love.
xo
- Jess
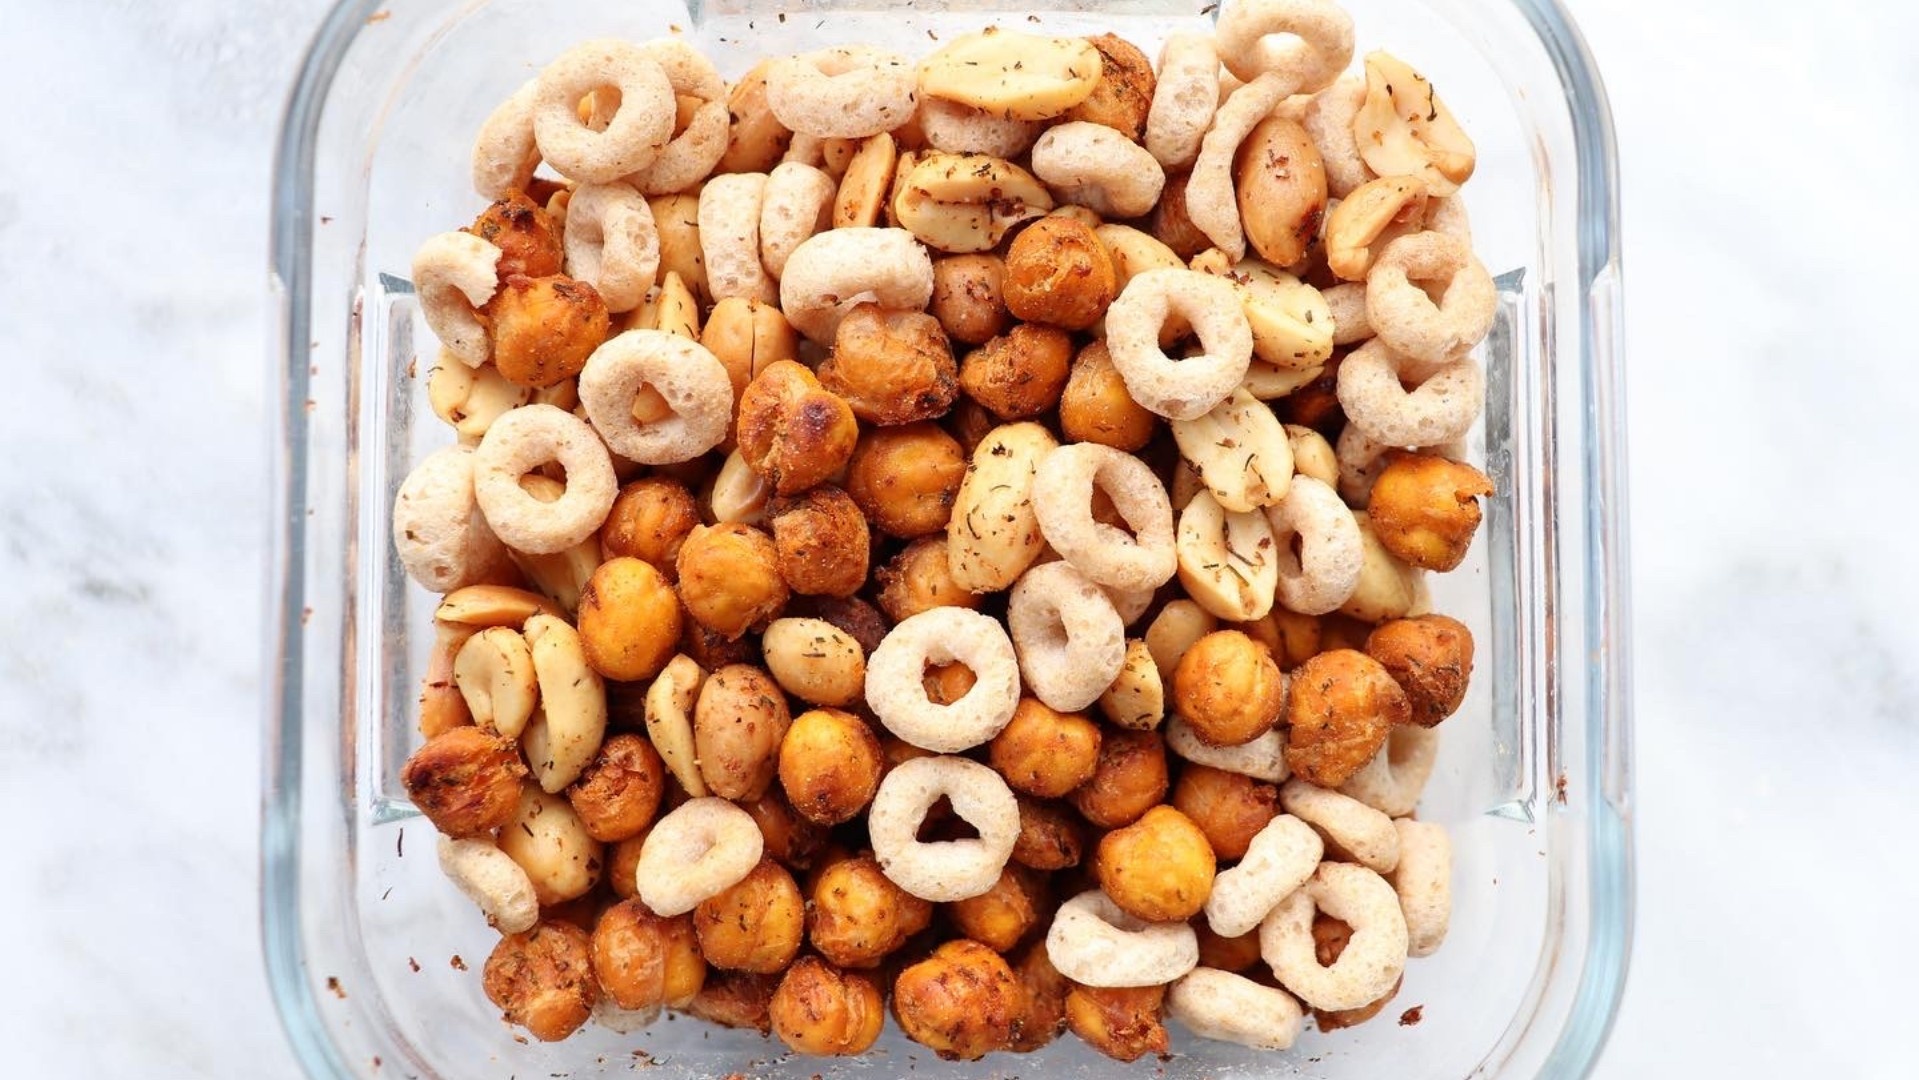
Roasted Chickpeas
I won't say the word until after Remembrance Day, but it rhymes with "Shristmas"...
So, with "Shristmas" season approaching, I'm sensing anxiety for those of you who may struggle with mindful/intuitive eating...
You know, when we basically don't see a vegetable for weeks, then feel like we need to go off the deep end with restrictive & ultimately unsustainable New Year's resolutions. Sound familiar?
Well, I'm here for you.
Let's start with dialing-up the FIBRE and PROTEIN, and dialing-down the saturated fat & refined starch at the snack table, shall we? These are also great to pack in lunches or to top a salad with!
Tip: Double this recipe, and use two baking sheets to roast chickpeas, if you want a bigger batch. Just note they are best eaten the day they are made, and will lose their crispiness quickly!
EDITED NOV. 10, 2019:
NEW TIP: BAKE THEM TWICE!
I found the end product was EXTRA CRISPY when I baked them again the next day at 350F for 10-15 mins. Again watch them so they don't burn as oven time & temp varies!
Ingredients:
- 1 Can Chickpeas, rinsed & drained. Dry well between two tea towels*
- 1-2 Tbsp Garlic-Infused Olive or Avocado Oil**
- 1/2 tsp each: Dried Dill, Salt, Smoked Paprika, Brown sugar (Garlic powder & Onion powder if you can digest fructans ok. Some people with IBS cannot).
- Black pepper to taste
*Drying chickpeas helps crisp the outside better. You can also remove the husks, but I didn’t find too crazy of a crispiness improvement when I did this additional, and frankly annoying, step!
**If you suffer from IBS, using an infused oil leaves out the stomach upsetting "fructans" that garlic & onion contain). Speaking of IBS, those who are intolerant to Oligos: Keep serving size to 1/4 cup, or pop an enzyme with alpha-Galactosidase.
Directions:
- Preheat oven to 400F.
- Line baking sheet(s) with parchment paper or silicon baking sheet.
- In bowl, combine all ingredients & stir to combine.
- Pour mixture onto baking sheet & spread out evenly.
- Bake for 35-40 minutes (stir halfway through) or until golden brown & crispy. Watch them CAREFULLY near the end so they don't burn!
- Baking time will VARY depending on oven and how DRY you got your chickies.
- Let cool completely before storing in an airtight container.
- Optional: Serve with equal parts roasted peanuts & cereal O's. Um, HELLO healthy PARTY MIX!
Note: Best enjoyed immediately! Mix will go soft overnight! Do not pre-combine until ready to enjoy.
As always, thanks for the love.
-Jess
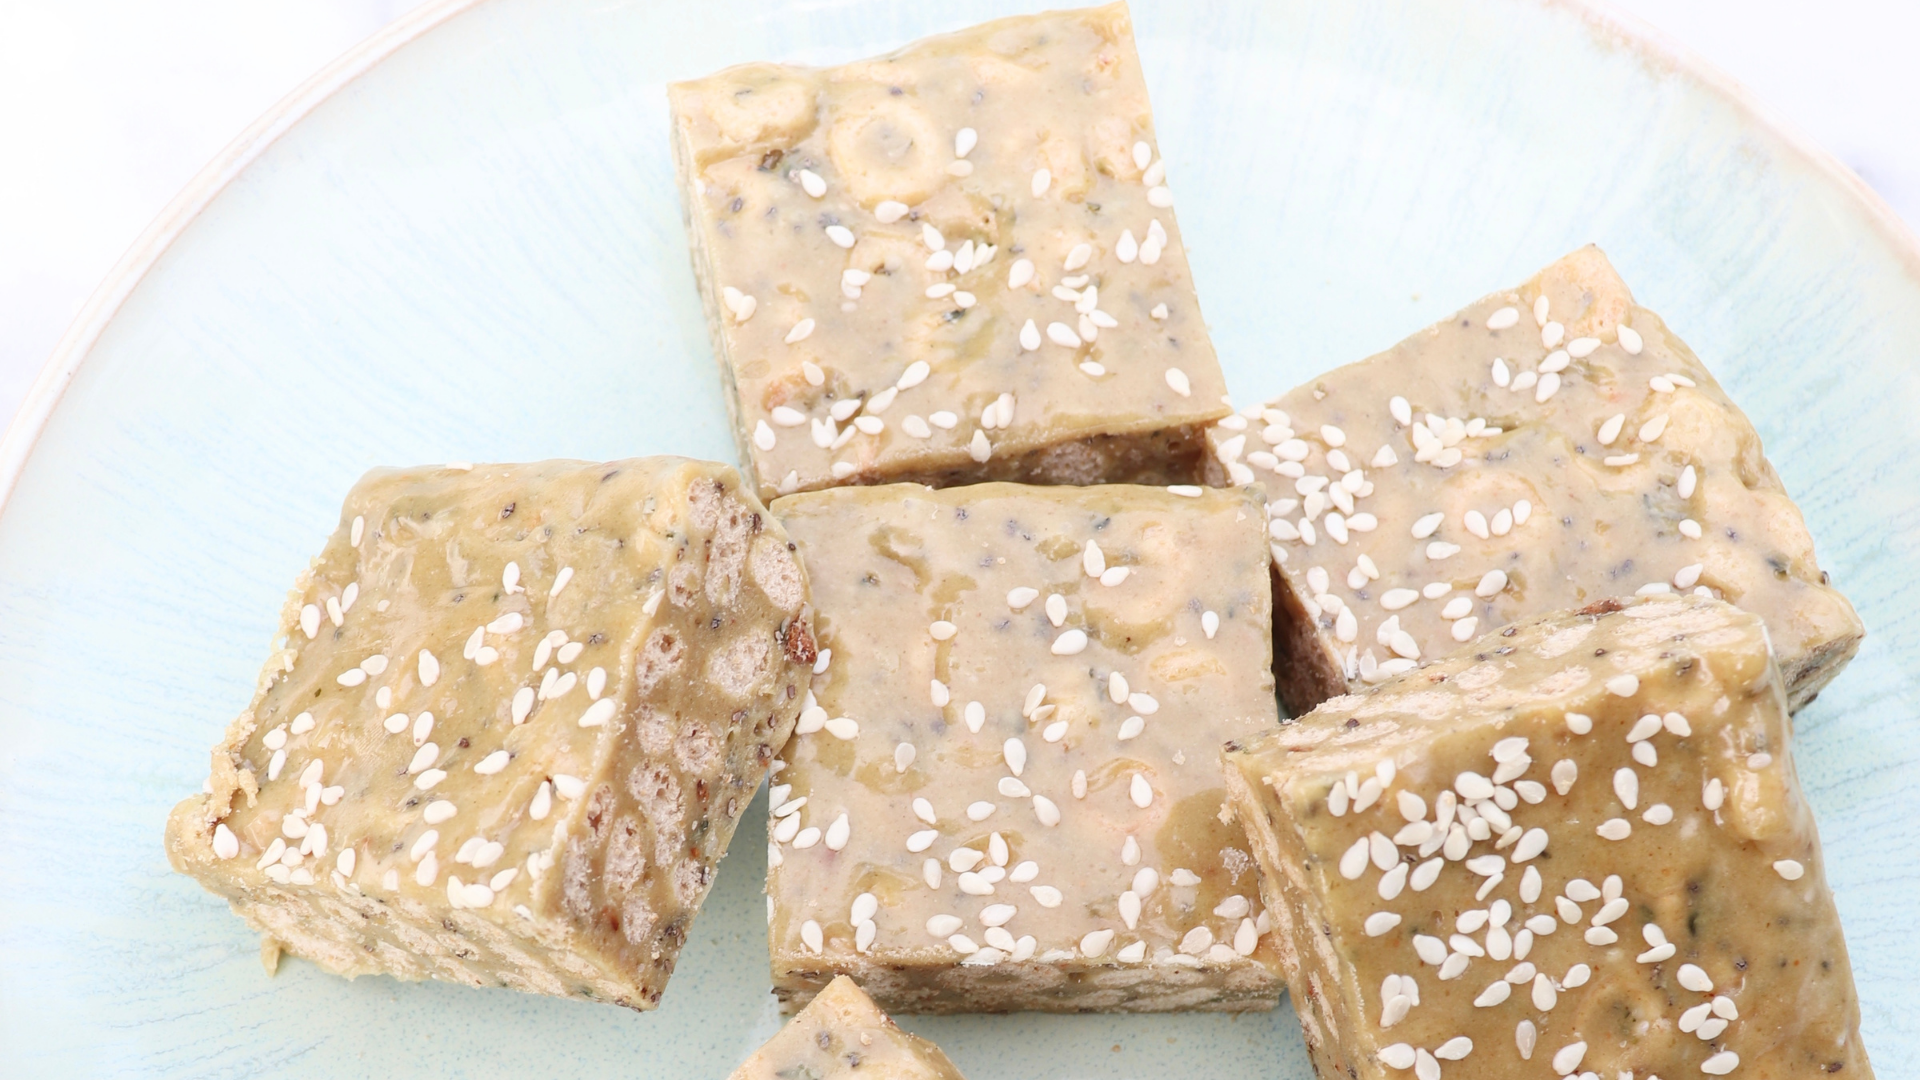
(Nut & Peanut-Free) Seedy Business Treat Squares
I'M PUMPED ABOUT THIS ONE!
Why? I was DYING to experiment with my new seed butters PLUS I love a cereal treat.
Yes it contains marshmallows, and yes, I'm aware of the sugar content.
This is "Jess Nourishes", NOT "Jess Restricts", and allowing oneself a delectable morsel occasionally is absolutely healthy.
Anyhow, with peanuts banned at many schools, I wanted to give you guys a packable LUNCHBOX treat, healthier than the traditional rice cereal treat (thanks to fibre, protein & healthy fats from pumpkin seed butter, tahini, chia seeds & hemp seeds)!
Note: DOUBLE THIS RECIPE if you are looking for a batch larger than a small loaf pan!
Just DOUBLE the recipe anyhow, because its that freaking good.
Ingredients:
- 2 Cups Marshmallows of choice
- 2 Cups Cereal of choice (I used plain O’s)
- 2 Tbsp Butter, Coconut Oil, or fat of choice.
- 1/3 Cup Tahini
- 1/3 Cup Pumpkin Seed Butter
- 1/4 Cup (total) Chia & Hemp Seeds
- Dash of Salt (if your seed butters aren’t salted)
- Optional: Sesame seeds for garnish
Directions:
- Line loaf pan with parchment or spray/grease sides.
- In large pot over medium heat, melt butter or coco oil.
- Once melted, add marshmallows and stir until melted & combined.
- Add seed butters & stir to combine.
- Add cereal & all seeds/nuts of choice.
- Use that muscle & stir until comes together in 1 lump.
- Use an oiled spatula to scrape mixture out of pot & into parchment lined pan. Press mixture down until even.
- Sprinkle with seeds of choice for garnish.
- Try your best to wait patiently while mixture cools completely (you can pop it in the fridge or freezer for a few minutes) before slicing into squares or rectangles.
- Devour that homemade treat, you wily minxes 🐱 (Is that plural for "minx"? Whatever, I'm rolling wih it).
As always, thanks for the love.
-Jess
Starry Night High Protein Balls
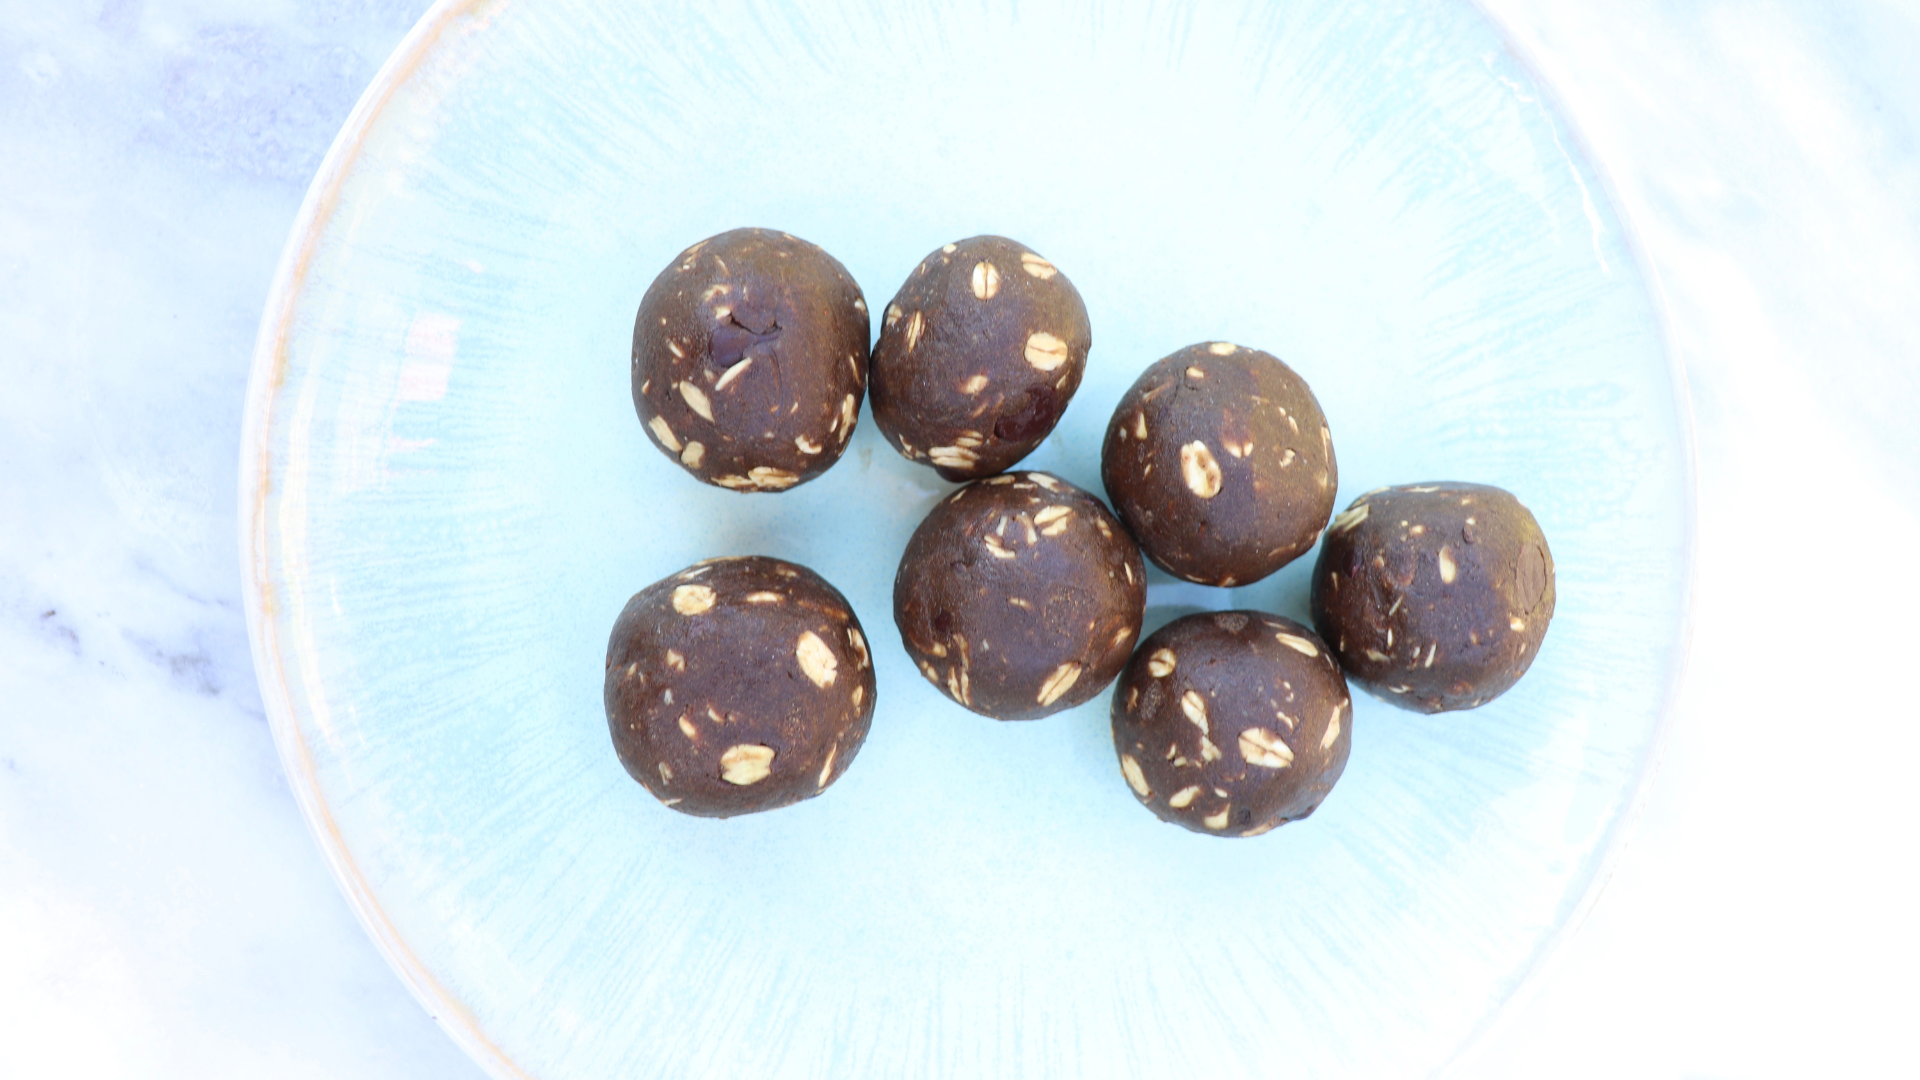
With so many of you gorgeous humans requesting high protein, on the go, or post-workout snacks, I invented this gem that you may add to your snack prep repertoire.
Don’t let the cute name fool you...These balls mean business: Protein business.
In a medium bowl, use elbow grease to combine:
- 1/2 cup old fashioned rolled oats (14g protein)
- 1/2 cup nut butter of choice (make sure it’s runny, or mixing will be impossible. I chose peanut butter, 30g protein)
- 2 scoops protein powder (I used collagen peptides- 14 protein in 17g. You could also use whey, leucine, or your protein powder of choice).
- 1/4 c chocolate chips (1g protein)
- 1/4 cup maple syrup
- 1/4 cup cocoa powder (4g protein)
- 1 tsp vanilla extract
- 1/4 tsp salt
- 1/2 tsp cinnamon
- Optional: 1 1/4 Tbsp African sourced Moringa Leaf powder (2g protein plus 120% Daily Value of Iron. Yep, you read that right). Or green powder of your choice.
Protein totals 67g in just a dozen 1.5” balls (just shy of 6g protein per ball. About the equivalent of an egg but also LOADED with antioxidants, fibre, healthy fats, and minerals like IRON)!
As always, thanks for the love!
-Jess
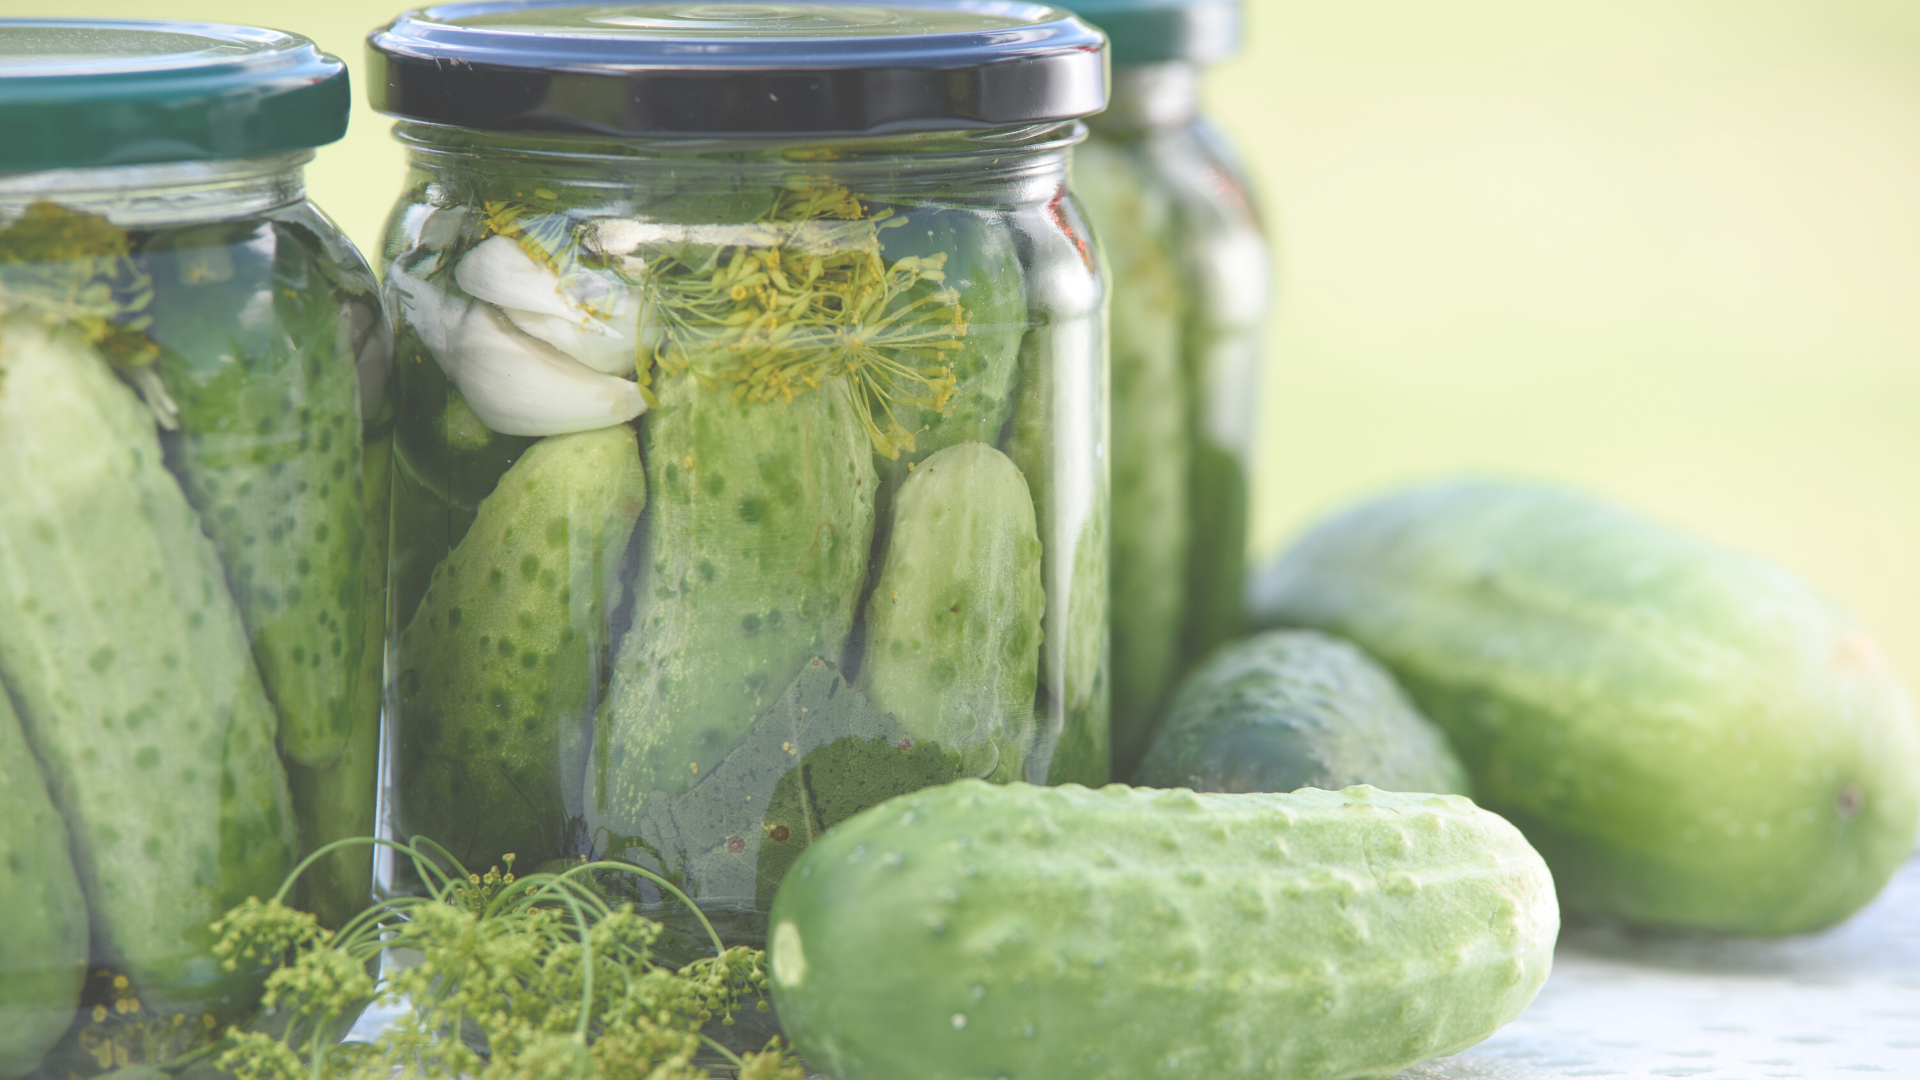
Low FODMAP "Garlicky" Refrigerator Pickle
- 2 parts water
- 1 part white vingear
- 1 tbsp salt for each cup of vinegar
- Fresh dill
- Baby pickling cucumbers
Ingredients:
- 4 cups water
- 2 cups white vinegar
- 2 tbsp salt
- 1 tbsp FreeFod Garlic Replacer
- 1 bunch fresh dill, washed
- 1.5 lb mini cucumbers, washed & sliced (or leave unsliced)
Directions:
1. In a large bowl, make the brine by mixing the water, white vinegar, salt & garlic replacer, until combined
2. Place fresh cucumbers in clean jar & add the dill.
3. Top jars with brine, cover with airtight lids & shake to combine.
4. Refrigerate for 24 hours before enjoying! Keep refrigerated and enjoy within a couple of weeks*
*For proper food safe canning practices, as these are only meant to be kept refrigerated, head to National Center for Home Food Preservation website.
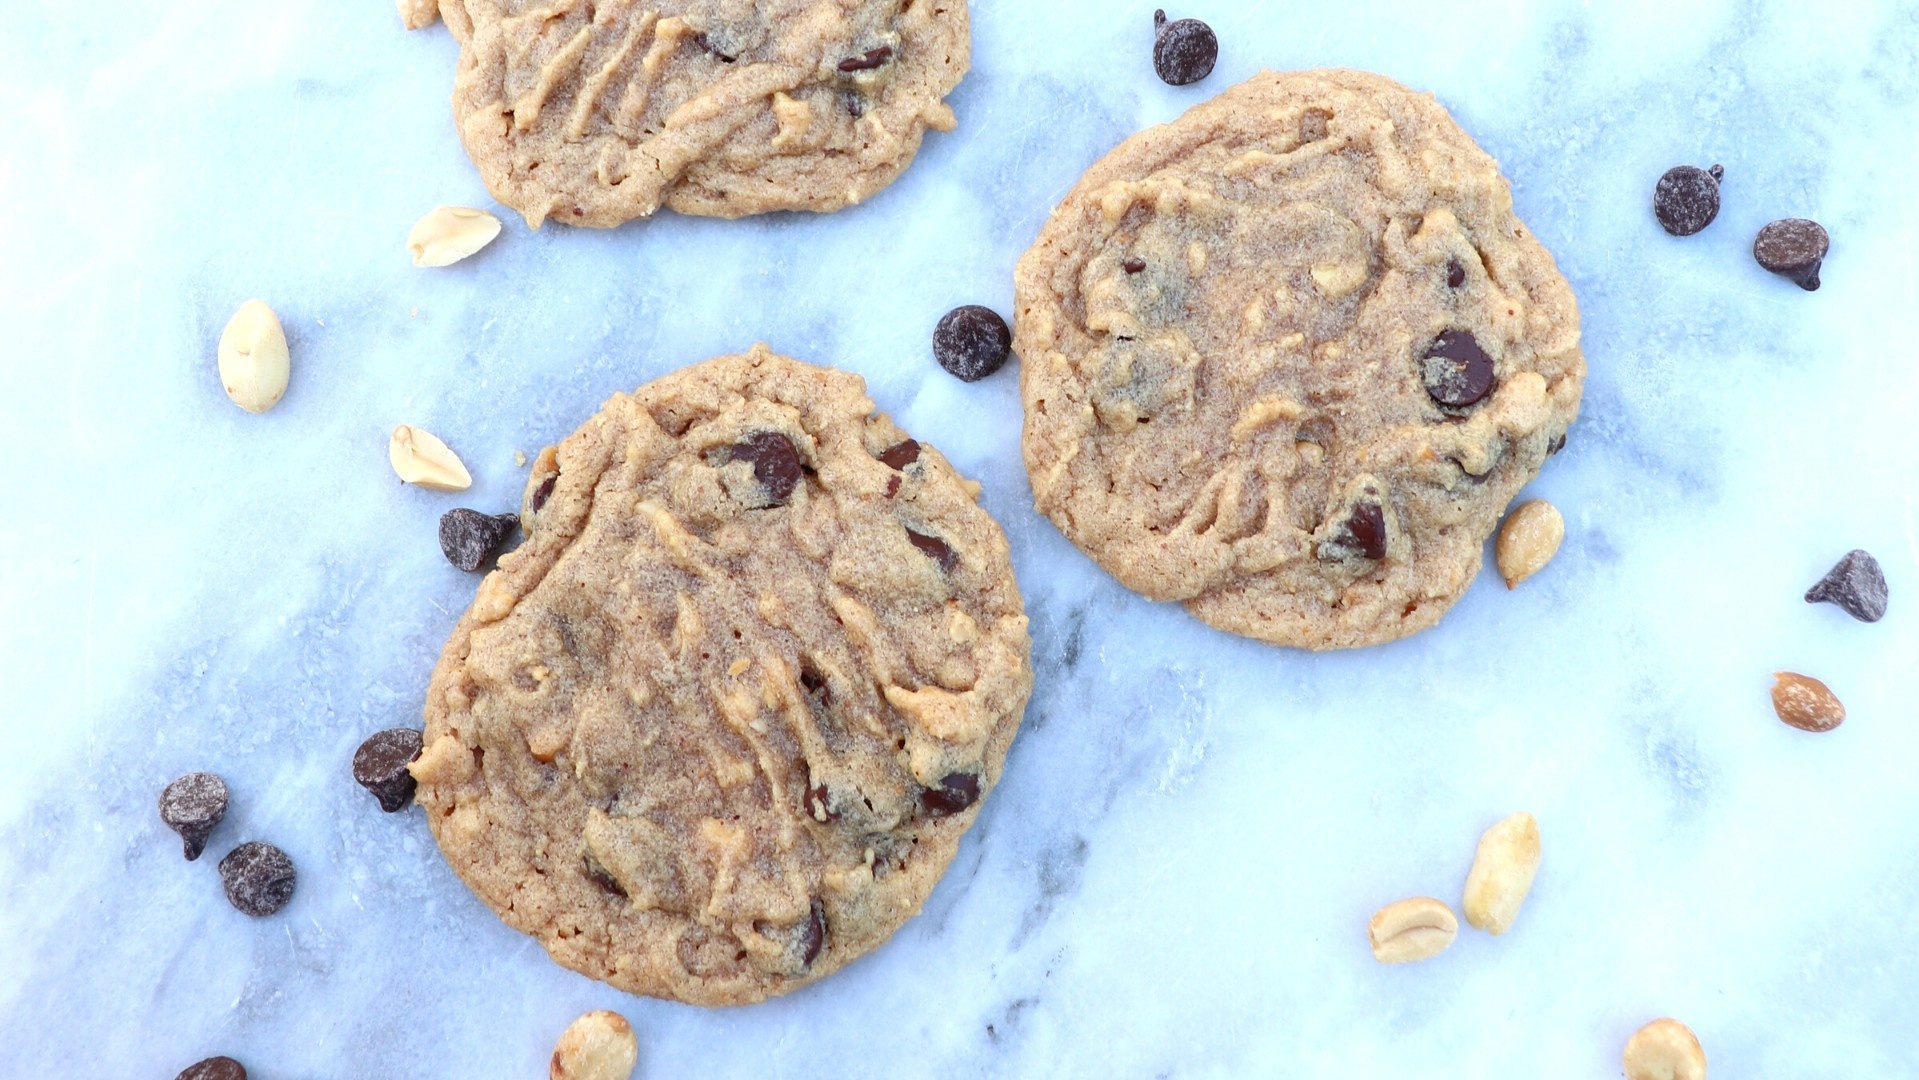
GF Peanut butter cookies
Yield: Makes 12 cookies
Ingredients:
- 1 cup Natural, Salted, Crunchy Peanut Butter
- ½ cup Almond Flour/Meal*
- ½ cup Brown Sugar
- 1 Egg
- 1 tsp Vanilla
- ½ cup Chocolate Chips
*Low FODMAP notes:
Almond flour/meal is low FODMAP up to ¼ cup.
So, stick to under 3 cookies per sitting.
Directions:
- Preheat oven to 350ºF.
- Mix together all the ingredients, except the chocolate chips, vigorously. Add and mix in the chocolate chips.
- Drop into 12 golf ball-sized balls onto parchment lined cookie sheet, and press down with fork (make a crisscross).
- Bake for about 12 minutes or until golden on the bottom. Oven temperatures vary so keep watch over those precious gems until they’re baked to your satisfaction.
If we’re all stuck at home (especially with toddlers *shudder*), it better damn well smell like heaven in here. Mission accomplished.
As always, thanks for the love.
✨💚✨
⠀
-Jess
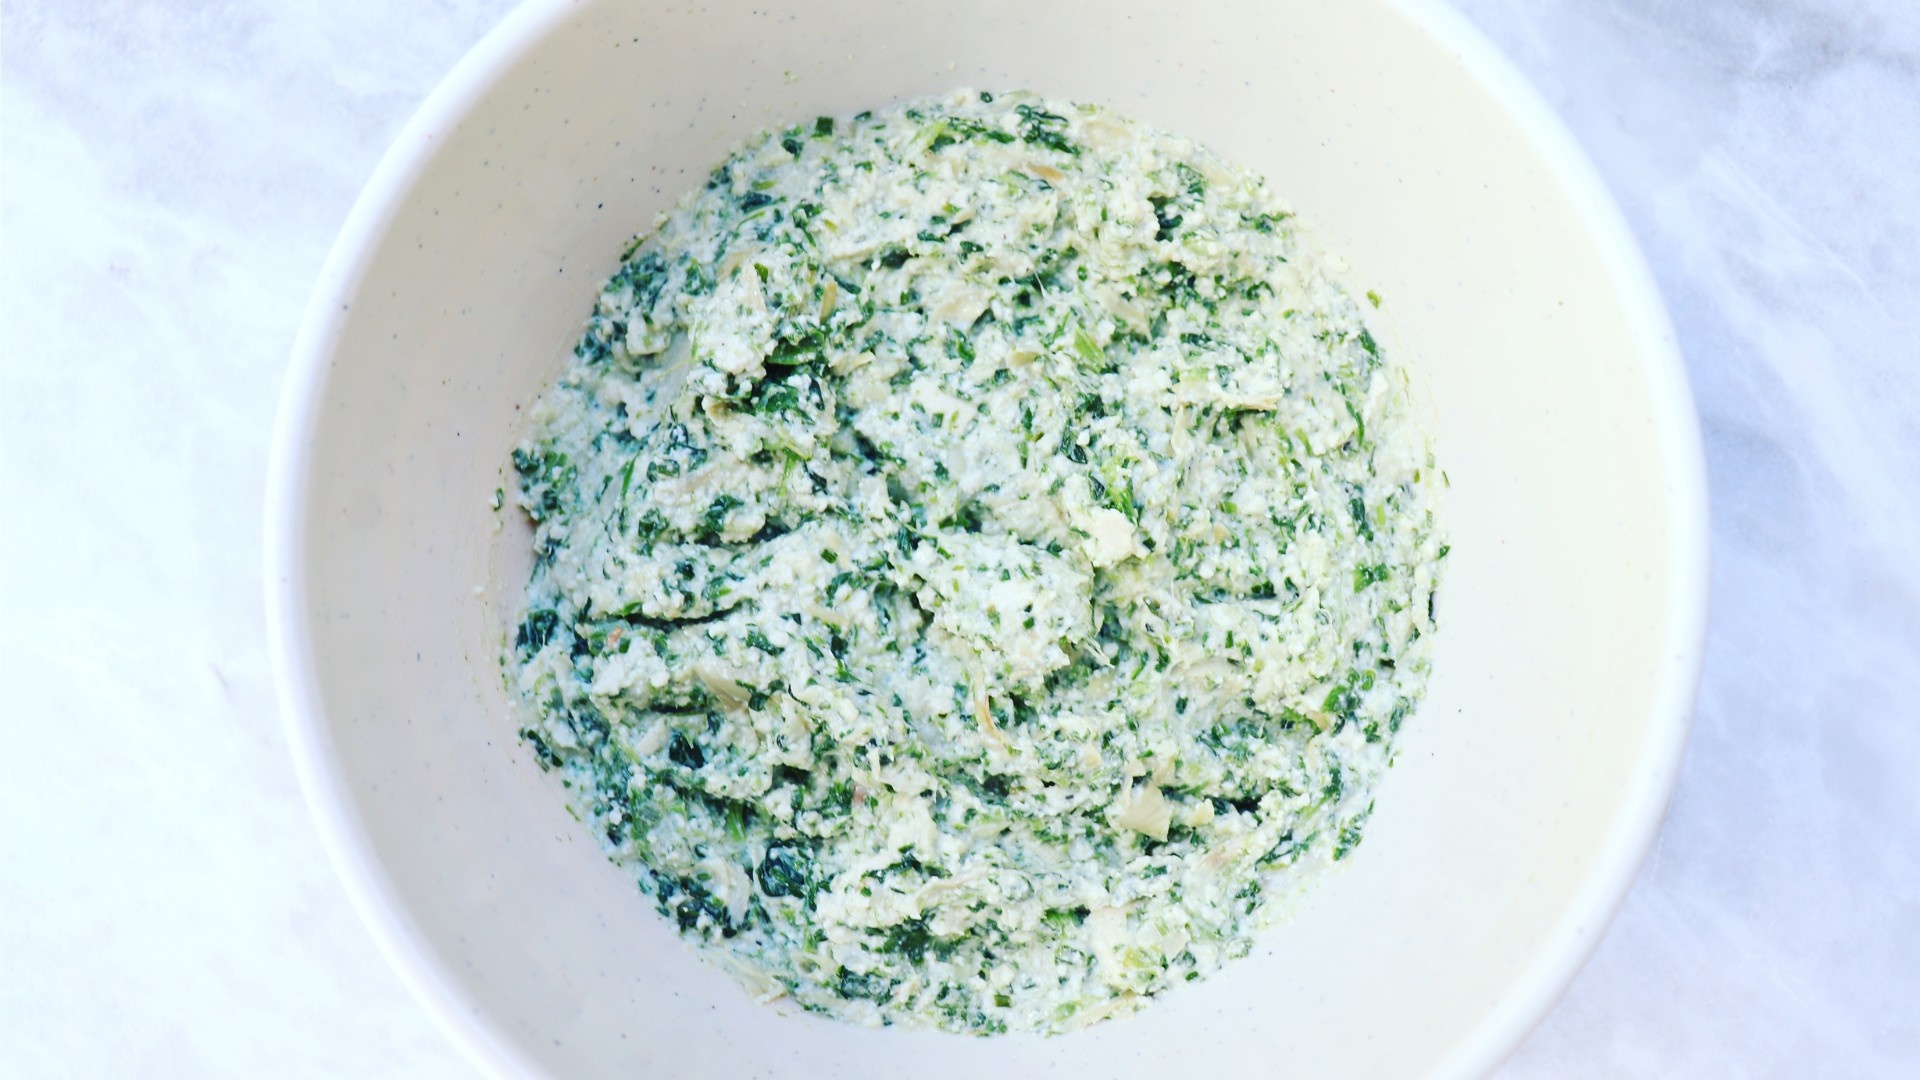
Low FODMAP (Healthier) Spinach Artichoke Dip
Garlic & onion powder...You never really realize how many store bought dips, sauces, marinades and dressings have these fructan-full ingredients until you start a Low FODMAP Diet to reduce bloating, gas, diarrhea and other yucky symptoms of IBS.
Another thing you may come to realize is that a well-planned Low FODMAP Diet can actually be healthy, as it forces us to make a lot of our dips, sauces, marinades and dressings from scratch, as opposed to leaving it up to food companies to choose the (usually cheap) ingredients and proportions of them that go in our bodies.
Take a creamy, dreamy store bought Spinach & Artichoke Dip for example with 18g of fat per 2 TABLESPOONS! I don't know about you, but if I'm eating a dip, more than 2 measly tablespoons are going down my hatch (especially at 31 weeks pregnant).
So for my busy (bloated) people, I have for you a HEALTHIER Low FODMAP Spinach Artichoke Dip. It uses Garlic-Infused Oil (see my IGTV Video link at the bottom on how to make your own infused oil, or use store bought) and dehydrated chives that will fully satisfy your garlic-onion fix, AND its lower in fat, sugar, and way higher protein with the mayo cut way down and with the addition of tofu. Holla!
This recipe was tried at my family's recent BBQ and was annihilated in record time.
Please make this and tell me how much you loved the healthy spin on a Spin Dip!
Ingredients:
- 1/2 Block Firm or Extra Firm Tofu, crumbled
- 1 x 300g Package Frozen Chopped Spinach, thawed
- 1 x 14oz canned Artichoke Hearts, chopped*
- 1/3 cup Mayo
- 1/4 cup Dehydrated Chives
- 2 Tbsp Garlic-Infused Olive Oil (store bought or home-made)
- 1/2 Lemon, juice only
- Salt & Pepper to taste (start with 1/4 tsp each, add more if desired)
Optional:
- 1 can Water Chestnuts, roughly chopped
*Canned artichokes are Low FODMAP in 1/2 cup servings or less!
Directions:
1. Using paper towels, or a cheese cloth, squeeze out as much water from both the tofu and the thawed spinach as possible.
2. Combine all ingredients to a medium bowl. Keep it chunky, or, use a hand blender (or scoop some of the mixture into a regular blender) and blend until your desired consistency is reached.
3. Refrigerate until ready to serve with bread/crackers/veggies of choice.
Meal Prep Tip! Portion into 5 small containers and you have the dip portion of your snack prepped for the week! Woot!
As always, thanks for the love!
xo
-Jess
Looking for the famous (and totally free) IBS Mini Guide?
Tell me what you are interested in:
Information on my site, or any materials, does not replace the individual recommendations & advice given to you by your health care provider(s). By filling out this form, you will be subscribed. I respect your privacy. You may opt-out at any time :)

